Every year within the first few days of school we gather all the children up and venture outside the classroom. Any Kindergarten teacher will tell you that this alone can be quite an adventure! You must remember, some of the children have never been in school. This doesn't sound like a big deal until you want everybody to line up and follow you around. You envision yourself as the mother duck and all your little ducklings are happily following behind you... And then you turn around! Kids everywhere. Some are over at the water fountain, others are marching on the wrong side of the hall, a couple are over at the bulletin board pulling on the other students' work. You just hope there aren't some still back in the classroom!
 |
| Only in my dreams! |
So, a few of us decided that we would take our school tour into the 21st century. Shout out to
Mrs. Altman,
Mrs. Cook,
Mrs. Paulson, and Mrs. Faith! We created a school tour that could be navigated with QR codes!
 |
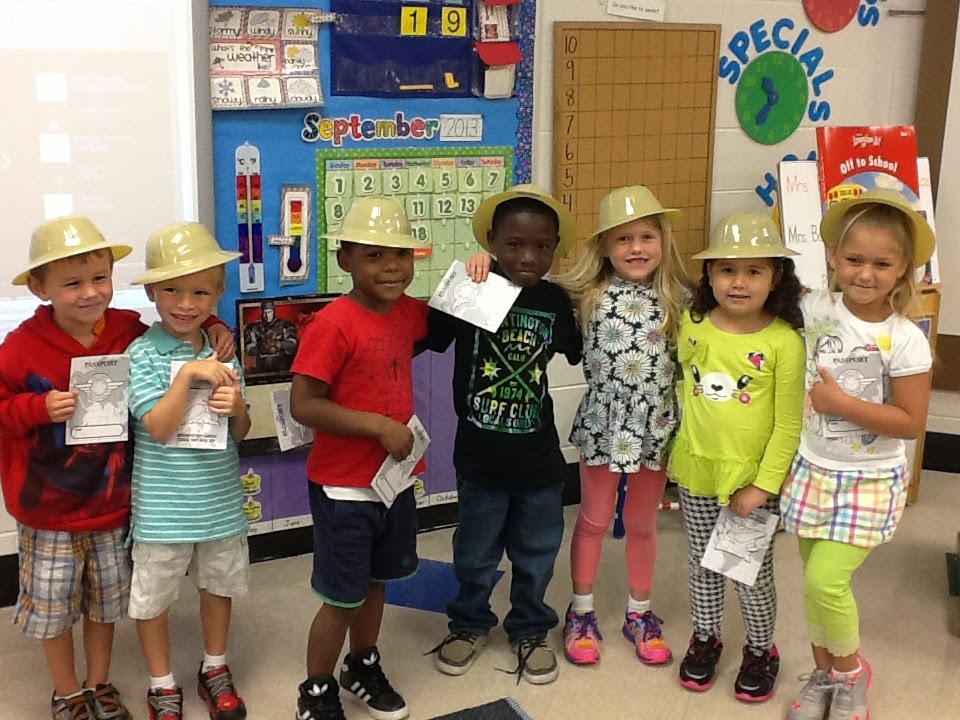
| Ready to head out for our adventure! |
 |
| Our ducks in a row :) |
 |
| Scanning QR Codes |
 |
| Watching Video Interview |
 |
| Scanning QR Codes |
 |
| Watching Video Interview |
I know what you are thinking... too much work! But really it was not that much. Mrs. Altman, Mrs. Cook and I split the work and now we have something we can use again next year with just a few adjustments. The little bit of extra work was worth the payback of a meaningful school tour. Students this year seemed to be able to recall and recognize members of our school family easier than previous years. We also reference our school tour during our Off to School unit (15 days), so it was nice to have those interviews to playback if we needed. Trust me - this is an upgrade :)
Want to try it? Here you go:
1. Decide who or what will be included on the school tour. We included places like the cafeteria, the nurse's office, Principal's office, etc., but we also wanted to include people that the children see throughout the building like the custodial staff and curriculum coach.
2. Record a video interview of the school family member or footage of the place you want to explore. Upload them to YouTube. You can choose to leave your video public, private, or only accessible to those who have the link. You may want to get permission from your colleagues before you post them publicly. Also, if you are sharing the tour with other teachers you will need to at least make it accessible to those who have the link. If it is private and you do not share an account, they will not be able to view it.
3. Create QR codes linking to the interview or location. We used
QR Stuff. It is a simple, free QR generator. *I recently heard of
VisuaLead at EdCampSC. It is a free QR generator that creates codes over/in pictures. I may try this next year.
4. Create posters with the QR codes and picture of person or place. We created posters on card stock that had a picture of the person we interviewed and the QR code. The posters were hung in the locations we would explore. For example, the Principal's poster was right outside the door of her office. This was really helpful because often times when you go on the tour the school family member may not be there. Having the video allowed us to still complete the tour and revisit the interview for other projects. We have also left the posters up for other classes or visitors.
5. Obtain a QR reader and organize the tour. You will need a digital device (phone, tablet, etc) to install the QR reader and give to the students. We used iPads with
Unirac QR Code Reader, but there are tons of free readers. With working with younger students, it is helpful to choose a reader that does not include a bunch of ads. Students always seem to click on them instead :) You may want to think about splitting a large group up, especially if you do not have enough devices. The major obstacle we found was sound. It was hard to hear in some heavy traffic areas. In a perfect world we would have had an iPad with headphones for every student... maybe. Small speakers may be a better plan. I'll let you know after next year's tour.
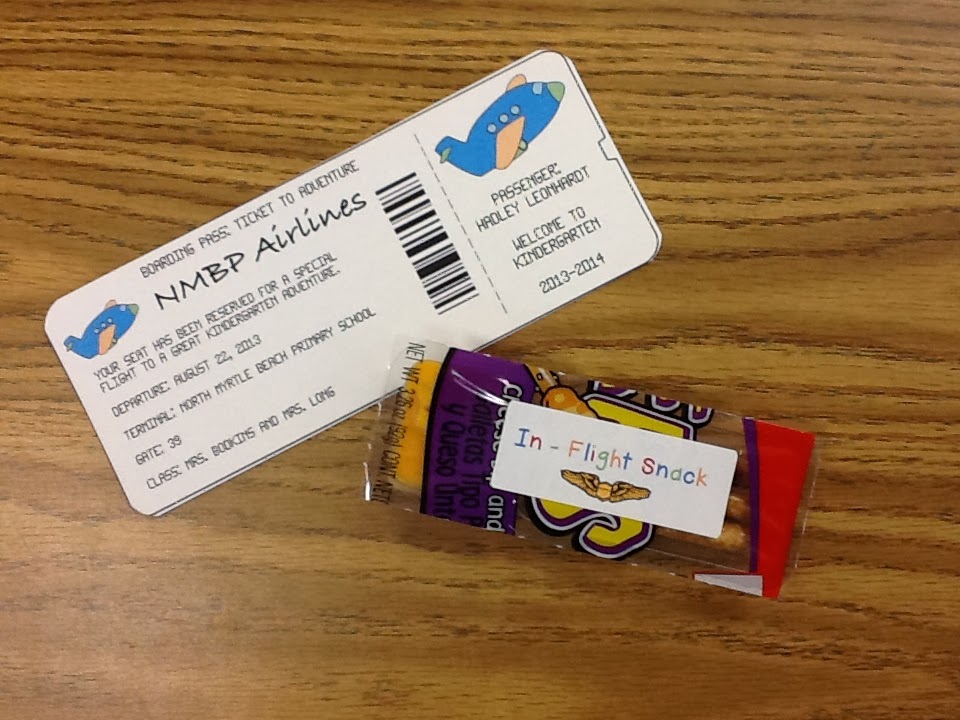
6. OPTIONAL: We really wanted to expand on the traveling and adventure theme, so we had a pith helmet for each student and a passport. Inside the passport we put labels that had the picture of the person interviewed and the QR code. After each interview we stamped their passport :) The students were able to take their passport home and share the code and interview with their family at home.
 |
| Passports from Oriental Trading |
 |
| Labels inside passport |
The students did a great job scanning the codes and completing the tour :) It was a success and I am looking forward to using QR codes for other projects!


 Student Writing for the Class Book